Matt from S&P Outfitters recently reached out to me about their Charger folding brace kit. It’s popular, but there were no instructions to make the install easy. So he sent me a kit, and I got busy with a few tools and a camera, and here’s the entire instructions. As much as I wanted to do a video, I think you’ll find this easier. No need to pause. You can order plenty of 10/22 and 22 Charger parts from S&P. Use code “Industryoutsider” at checkout for 5% off.
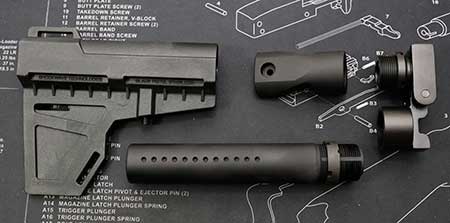
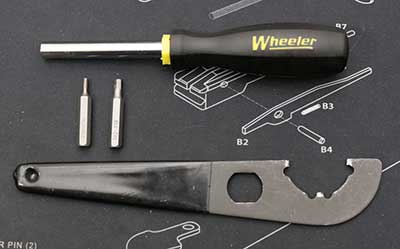
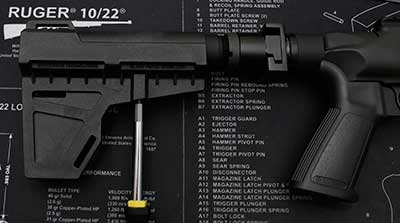
First, lay out your parts. You should have brace adapter, folding mechanism, buffer tube (also called a receiver extension), and the brace. Next, make sure you have the two wrenches you’ll need for this. They are 5/32″ and 5/64″. Finally, you will need a wrench for the castle nut. If you don’t have one, find someone with an AR. They will most likely have one. I have a proper armorer’s tool, but find this inexpensive flat wrench makes it easy to get into tight spots.
Once you’ve confirmed that you have the necessary parts and tools, find a clean workspace with good lighting. No one likes working on a messy bench. If your workspace is also your kitchen table or coffee table, put down an old towel. No one likes oil transfers or scratches either. And lay out your tools and parts. Next step is to make sure your Charger is unloaded. I clear it and install a chamber flag, then slide the bolt forward. This way, I can always see that it’s empty, and don’t have to worry about bumping the charging handle and sending the slide forward.
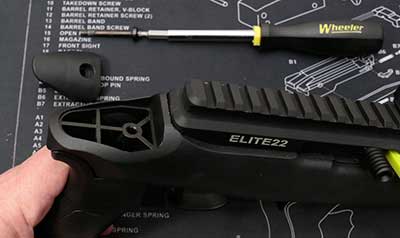
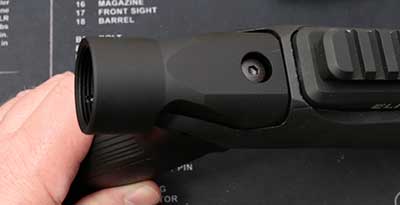
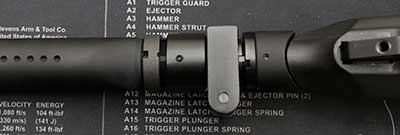
Depending on your tools, you may or may not want to remove the grip first. There is a small set screw that will be easier to access when the grip is out of the way. But it can be accessed with L-shaped wrenches or a small ratchet. Otherwise, the first step is to remove the bolt that holds the rear cover on. Just back it all the way out. Then you can pry out the cover. Note that you’ll want to pry it straight up and out to avoid damaging it. Don’t pull it out at an angle.
Once the cover is off, install the buffer tube adapter. That’s as simple as setting it on the back of the stock, where the cover was, and tightening down the bolt. No need to over-tighten. One reason I like the screwdriver-style driver is that it’s more difficult to over-tighten (and damage) parts. Go until you feel resistance, and then give it a quarter turn or so.
Next step is to install the folding adapter. Pay attention to the groove in the bottom. You’ll want to thread it as far as it will go in, without forcing it. That groove will probably not line up with the set screw on the underside of the adapter. Don’t worry. Rotate it back out until it does. Then tighten down that set screw. Again, no need to torque it down, especially at this point. Just enough to keep the adapter from rotating.
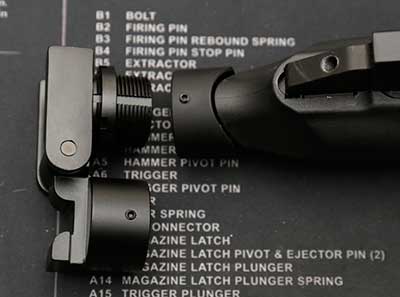
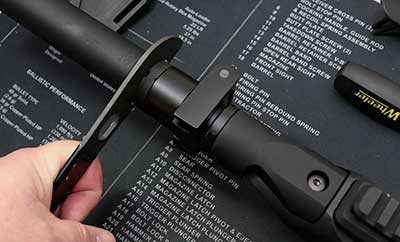
With the adapter in place, thread the KAK receiver extension (buffer tube) into the adapter. The process is the same – thread it in as far as it will go without forcing it. Then back out until the groove aligns with the set screw. Tighten the set screw, but not overly tight. At this point, you’ll want to fold it over, and make sure that the adapter is properly aligned. As long as it is, you can now snug down the set screws in both adapters.
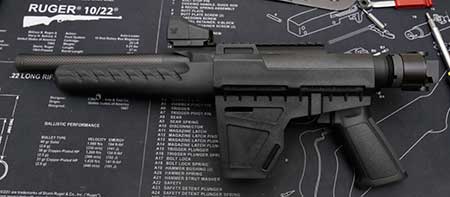
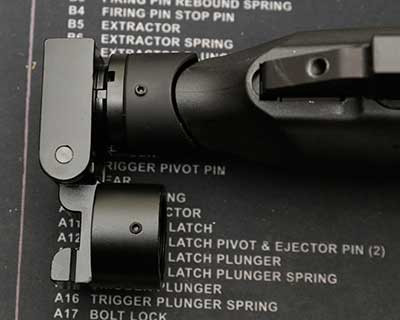
Install the brace, paying attention to the series of holes in the receiver extension. There is a large set screw in the underside of the brace. It has a pointed end that fits into those holes. Run it all the way down, to within about 3/4 of an inch from the adapter. Carefully tighten the set screw, again going very gently. You’ll want to make sure it’s in one of those holes. With the brace installed, you can now snug down the castle nuts.
This is where you’ll appreciate the flat castle nut wrench. There is not a lot of room between the adapter and the back side of the castle nut. I do the one from the adapter to the stock first. With the set screw, it doesn’t need a ton of torque. Just snug. Then the castle nut on the receiver extension. Because this is not a buffer tube with a buffer inside, you don’t need to overdo it. It’s not like an AR where the tube loosening could cause a catastrophic failure. The set screws should keep things from twisting if they loosen up.

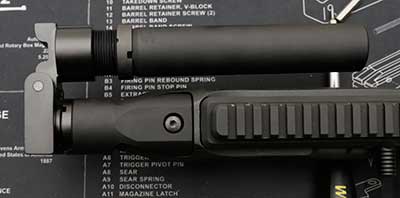
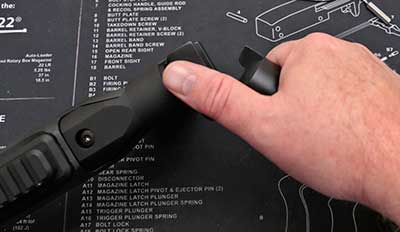
With everything all tightened up, test the folding hinge mechanism. I put my thumb on the Charger side, and pull up on the receiver tube. That disengages the lock so it can be opened or closed. Make sure it swings smoothly, and that it’s level. If not, you may need to go back and make sure the adapter is lined up correctly. Then check the receiver extension. If they are both squared up, then the brace may not be installed correctly. Remove it and watch from the back, as you reinstall it, to make sure the set screw is in line with the dimples.
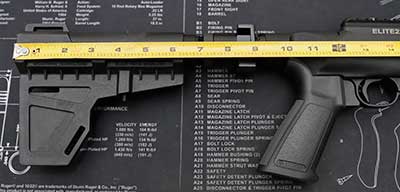
Now that things are all tightened down, I like to do two things for a little added insurance. First, I make sure that the distance from the trigger to the back of the brace is 13.5″ or less. This is not an arbitrary choice. As of the published date of this article, that is the maximum length of pull for a pistol, per the ATF. Next, I remove the set screws from the stock, then the adapter, one at a time. And I install a drop of blue Loctite before replacing them. This keeps those tiny screws from backing out and getting lost, but they are still removable. Do not use red Loctite! That’s pretty much permanent.
At this point, you should be ready to go shooting! Just don’t forget to check the set screws and castle nuts once in a while, and you’re good to go.